Cheap, Not Nasty: Rebuilding a £150 Winter Bike Without Cutting Corners
A £150 bike is not a cheaper new bike. It is a project. Sometimes it is a very good project — a rigid hybrid or an old steel tourer that has been sitting in a shed since someone last pretended they were going to commute. Sometimes it is a cracked aluminium frame with a seized seatpost and a story about “just needing a tune-up”. The difference between the two is about forty minutes of honest inspection and a willingness to walk away.
This is the rebuild we would actually do for a Kent winter hack: the bits we would buy, the bits we would scrounge, and the faults that make us put the bike back on Marketplace. It is not a restoration guide. It is a guide to getting a safe, useful bike for sensible money.
What £150 buys in 2026
Not much new. A new bike at that price is usually heavy, badly assembled and fitted with components that will not survive a wet winter of lane miles. Used is the only sensible route. Look for rigid hybrids, older mountain bikes with no suspension, steel tourers, and anything that has clearly been used but not abused. Town bikes can work too, but check the rear spacing and brake mounts before you fall in love with a basket.
Facebook Marketplace and eBay are fine. Go and see the bike in daylight. Take a chain checker, a pump and a friend who will tell you not to buy it. If the seller will not let you remove a wheel or check the frame number, that is your answer.
The frame check that decides everything
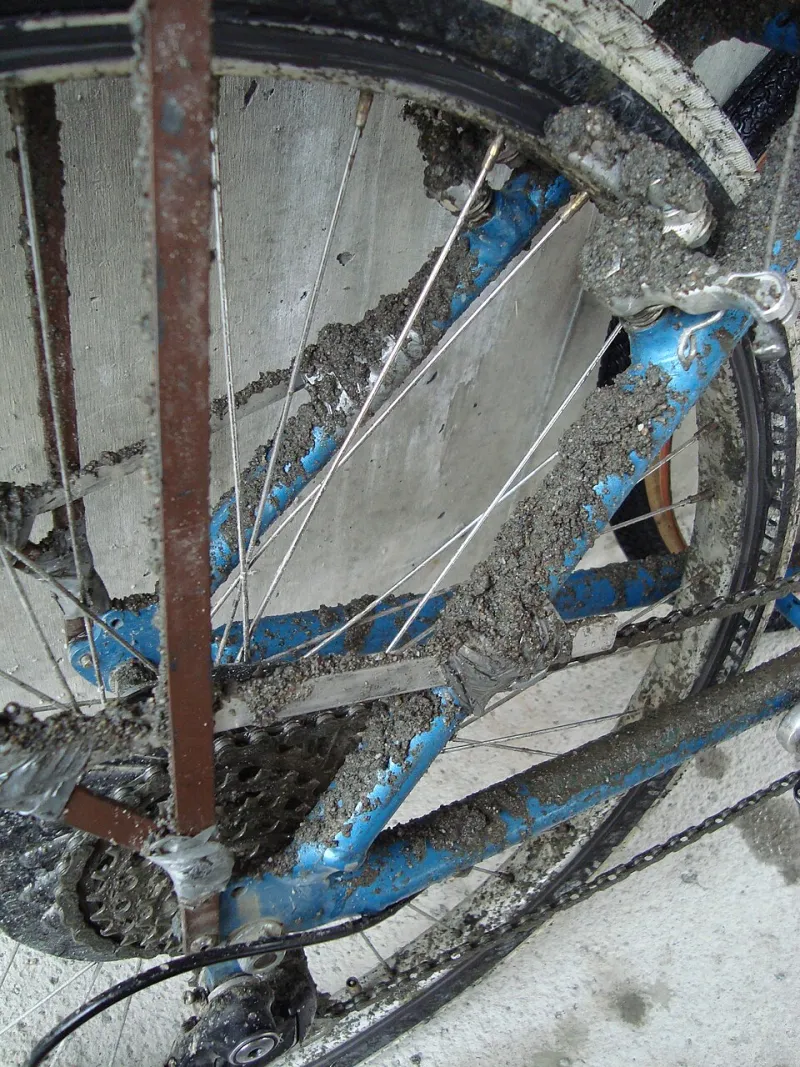
Start at the front and work back. Look for cracks around the head tube, bottom bracket and seat cluster. Check the fork for bends, especially at the crown. Aluminium does not bend back; if it is creased, walk away. Steel can be repaired, but rust holes are a no. Look inside the stays and under the bottom bracket for bubbles under the paint. A little surface rust is fine. A screwdriver going through the chainstay is not.
Check the seatpost. If it will not move, assume it never will, and ask yourself whether you want to own that problem. Check the dropouts for cracks and the threads for damage. Check the frame number and, if you can, run it through a stolen bike checker. A bargain is not a bargain if it belongs to someone else.
Drivetrain: spend here first
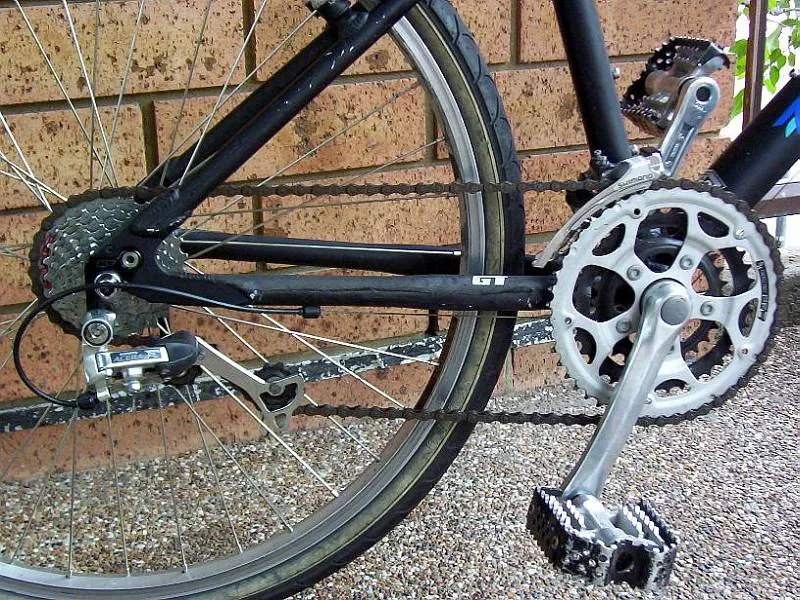
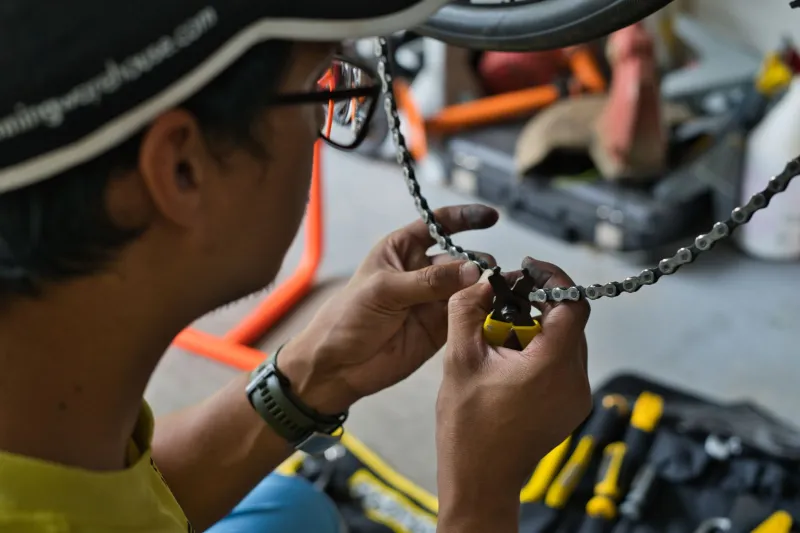
A worn chain will eat a new cassette in a few hundred miles. Use a chain checker. If it drops in at 0.75 per cent, budget for a chain and cassette. If the chainrings are hooked like shark fins, add those too. You can sometimes get away with just a chain on a very cheap build, but do not pretend it is a long-term fix.
We would spend money on a new chain, a cassette that matches the existing range, and a pair of jockey wheels if the old ones are worn. Gear cables and outers are cheap and make a huge difference to how the bike feels. Do not buy the cheapest chain you can find; a mid-range chain from a known brand is better value than replacing a no-name one twice.
Brakes: the non-negotiable
If the bike has rim brakes, check the wear indicators on the rims. Concave rims are finished. New pads are cheap; new wheels are not. Replace cables and outers if they are sticky or frayed. Set the pads so they hit the rim squarely, not the tyre.
If it has disc brakes, check the rotors for scoring and the pads for contamination. A sticky piston is often fixable. A cracked caliper body is not. Budget for pads and a bleed if the lever feels spongy. Do not ride a bike with brakes that only work when you plan ahead.
Bearings and wheels
Spin the wheels. If there is play at the hub, it might just need adjustment. If it grinds, it needs bearings. Check the headset for rocking with the front brake on. Check the bottom bracket for play and roughness. These are not glamorous jobs, but they are the difference between a bike that feels dead and one that feels like it will get you home.
Tyres are where we would spend without arguing. A pair of decent 28–32mm tyres with puncture protection will transform a cheap hybrid on Kent lanes. Check the sidewalls for cuts and the tread for wear. If the tyres are perished, bin them. Tubes are fine; tubeless is nice but not essential on a £150 build.
The shopping list we would actually use
- Chain and cassette: £45–£60
- Gear cables and outers: £15
- Brake pads and cables: £20–£30
- Tyres and tubes: £40–£55
- Bearings or a bottom bracket: £20–£35
- Grips, bar tape or a saddle: £20–£40
That is another £150–£200 on top of the bike. Suddenly your £150 hack is a £300–£350 bike. That is still decent value if the frame is sound and the wheels are true. It is terrible value if you are chasing cracks and seized parts.
What we would refuse to ride
Cracked carbon. Bent forks. Rust holes in structural tubes. A seized seatpost that will not budge after a proper attempt. Damaged dropouts. Wheels that are so far out of true that the tyre rubs the frame. Any bike with no working brakes. Any bike where the seller is vague about the frame number. And anything that has clearly been crashed hard and “straightened” by someone with more optimism than tools.
The verdict
A £150 second-hand winter bike is a good idea if you buy the frame and the wheels, not the shiny bits. Spend on safety and contact points. Scrounge what you can from the parts bin. Refuse anything that needs a frame repair to be safe. Do that, and you end up with a bike you can leave outside the shop, ride through a wet Kent lane and not cry about. That is the whole point.