The Kerbstone Fit: Nailing Saddle Height in Fifteen Minutes Flat

There is a particular kind of optimism that arrives when you buy a bike, shove the saddle up until it looks about right, and vow to sort the details later. Later, in this case, usually means halfway up a Kent lane with one knee complaining and the other leg wondering why it is doing all the work. The good news is that the fix rarely needs a wind tunnel or a fit studio. It needs fifteen minutes on your driveway, a tape measure, and a short loop to confirm what your body already knows.
Saddle height is not a fashion statement. Set it too low and your knees compress at the top of the stroke, your quads burn early, and every climb feels like you are pedalling through wet sand. Set it too high and your hips rock, your lower back grumbles, and your pedal stroke develops a little hitch at the bottom. A centimetre here or there is not fussy perfectionism; it is the difference between finishing a Sunday loop fresh and spending Monday wondering why your IT band is sulking.
What you actually need
You do not need a laser level or a fitter with a clipboard. A tape measure, a spirit level or a smartphone level app, a wall to lean against, an Allen key, and a quiet stretch of road will do. A helper is nice but not essential. If you are using a turbo trainer, fine, but the driveway check works best because the bike behaves normally when you pedal it properly.
Step one: find your starting number
Stand barefoot against a wall with your feet close together and a book spine pressed firmly up between your legs, as high as it will comfortably go. Measure from the floor to the top of the book. That is your inseam, not your trouser leg. Multiply by 0.883 if you want the classic LeMond starting point, or simply note the number and use the heel method below. Neither is gospel. They are places to begin, not plaques to install.
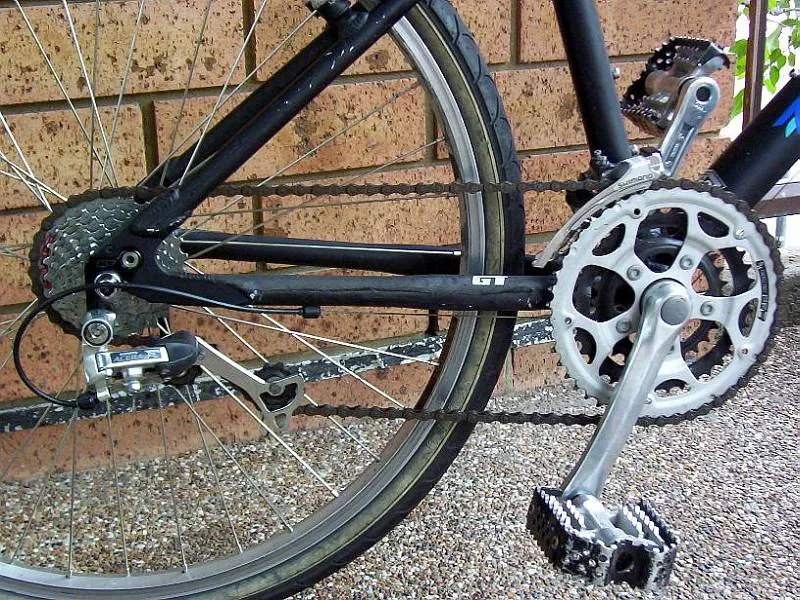
Measure from the centre of the bottom bracket to the top of the saddle, following the line of the seat tube. Write it down. This matters because once you start nudging the saddle, memory becomes unreliable and every position feels strange after ten minutes.
Step two: the heel-on-pedal sanity check
Put your bike against a wall or have someone hold it. Sit on the saddle, clip in or place your feet on the pedals as normal, and put your heel on the pedal at the bottom of the stroke. Your leg should be almost straight, with just a hint of bend, and your hips should stay planted. If you have to reach or rock, the saddle is too high. If your knee stays noticeably bent, it is too low.
This is a rough check, not a final verdict. Shoes and cleats change everything, so do it in the shoes you actually ride in. If you are between positions, start slightly lower rather than slightly higher. A saddle that is a few millimetres low is usually kinder than one that is a centimetre high.
Step three: set the setback
Saddle height gets all the attention, but fore-aft position quietly influences how your knee tracks and how much weight lands on your hands. A simple plumb line works: tie a weight to a piece of string, hang it from the bony bump just below your kneecap, and see where it falls relative to the pedal spindle when the crank is horizontal. For most riders, a sensible starting point is somewhere near the spindle, perhaps a touch behind it. It is not a sacred law, but it is a useful reference.
Move the saddle fore or aft in small steps. If you feel like you are reaching for the bars, the saddle may be too far back. If your knees feel cramped and your front end feels vague, it may be too far forward. Change one thing at a time, or you will end up chasing your own tail around the driveway.
Step four: the test loop
A driveway check is only half the job. Ride a short loop that includes a gentle climb, a flat stretch and a bit of poor surface. Kent lanes are excellent for this because they rarely let you settle into one position. Pay attention to three things: whether your hips rock when you pedal steadily, whether you can produce power without feeling like you are reaching, and whether your hands and shoulders relax.
Try not to judge the first two minutes. Everything feels wrong after a change. Give it ten minutes, then ask yourself whether you would willingly ride another hour in that position. If the answer is no, go back and adjust by two or three millimetres, not ten.
The mistakes worth avoiding
Do not raise the saddle to fix numb hands. That usually makes the problem worse by shifting more weight forward. Do not slam the saddle forward to fix reach; that is a stem and bar issue, not a saddle issue. And do not trust the markings on your seatpost unless you have checked them with a tape measure. They are often optimistic.
Finally, remember that saddle height is personal. A bike fit is a starting point, not a cage. If you have a long-standing injury, a significant asymmetry or persistent pain, get proper advice. But for the everyday Pembury rider chasing a bit more comfort on the next club run, the driveway check is a genuinely useful place to start. Fifteen minutes now can save a whole winter of fidgeting at traffic lights.