Measure Twice, Replace Once: The Chain Check That Pays for Itself by February
It's half three on a Saturday, the light has already given up, and you've just rolled back in from a loop out past Matfield with the Brenchley road still in your legs. The bike is wearing a fine beige film. You rinse it, you drip some lube on, you put the kettle on. What you almost certainly didn't do — because nobody does — is measure the chain.
That's the one job on a winter bike that takes two minutes and saves you actual money. Not the vague, guilt-driven money-saving of "clean it more often". Real money, in notes, by roughly February.
Worn doesn't mean broken (and that's the problem)
A chain doesn't snap because it's old. It snaps because one plate finally gives up, usually somewhere inconvenient. The wear we're talking about is slower and sneakier: the pins and the inner rollers grind against each other, each link gets microscopically longer, and because there are 116-odd of them, the whole chain ends up noticeably longer than it started.
Cyclists call it "stretch". There's no stretching involved. It's abrasion — metal removed, link by link — and Kent in November is a world-class supplier of the abrasive. Gritter residue on the Tonbridge roads, flint dust off the byways, wet lanes around Hadlow and Five Oak Green that never quite dry out. Mix that with a bit of chain lube and you've built yourself a very effective grinding paste, then run it through your drivetrain 80 times a minute.
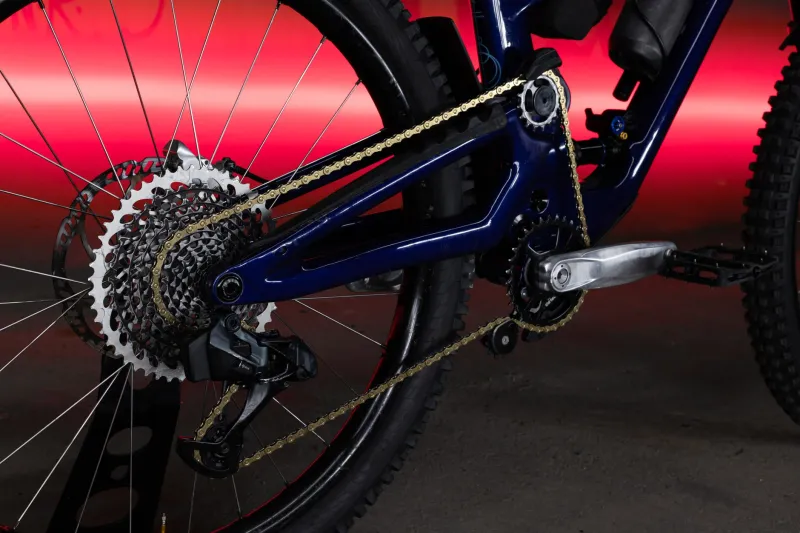
The moment a chain gets long enough, it stops sitting down in the valleys between the teeth and starts riding up on the flanks instead. Load transfers to maybe two or three teeth instead of a dozen. Those teeth wear, hook over, and then no chain on earth will sit nicely on them again.
Two minutes with a £15 tool
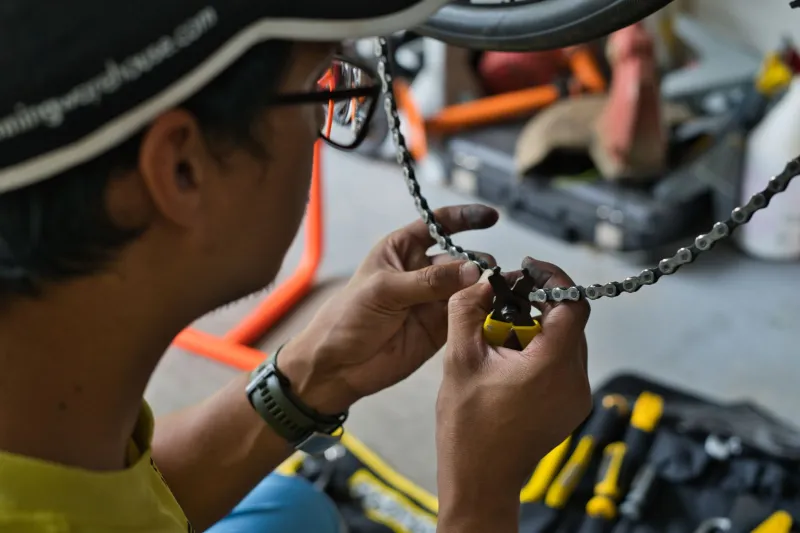
You need one bit of kit: a chain checker. The go/no-go type — Park Tool's CC-3.2 is the one that lives in our workshop drawer, and there's a CC-4 with an extra roller check for about a tenner more. Decathlon and Planet X both sell perfectly usable versions under £15. Anything more expensive buys convenience, not accuracy.
Drop the hook end into the chain, push it in, and see whether the other end falls through the gap between two links.
- If the 0.5% end won't drop in, you're fine. Ride on.
- If 0.5% goes in but 0.75% won't, you're on borrowed time — order a chain now.
- If both drop through, stop reading and buy a chain.
No tool? A steel ruler works. Measure exactly 12 inches from the centre of one pin. If the 12-inch mark lands 1/16 inch short of a pin centre, you're at roughly 0.5%. A full 1/8 inch out is 1% — fully worn, and you've probably already spent the cassette.
Two caveats worth knowing. First, clean the chain before you measure, or grit in the rollers gives you a false "worn" reading and you'll replace a perfectly good chain. Second, different gauges read slightly differently depending on whether they engage the rollers or just the pins. Pick one and stick with it, so the numbers actually mean something from month to month.
What 0.5% and 0.75% mean for your bike
The wear percentage is the amount the chain has elongated relative to its original length, and the sensible replacement point depends on how many gears you've got squeezed in at the back:
- 11- and 12-speed: replace at 0.5%. Narrow chains, thin plates, and cassettes that cost proper money. Don't wait.
- 9- and 10-speed: 0.75% is the usual call.
- 7- and 8-speed: you can generally run to 1.0%, because the teeth are chunkier and the parts are cheap.
There's a widely repeated line that you can run a chain to 1% and just replace the chain. On a modern 11-speed drivetrain that advice is out of date. By 1%, the cassette is almost always gone too, and you'll find out the hard way: the new chain skips under load in the two or three sprockets you actually use.
The sums, done honestly
Rough 2026 prices from our side of the counter:
- 11-speed chain: £20–£35
- 12-speed chain: £30–£55
- 11-speed cassette: £45–£90
- Chainrings: £25–£60 each, and a triple or a compact can need two
- Workshop fitting: £15–£25 for a chain, more with a cassette
A cassette and a couple of chainrings, fitted, is comfortably a three-figure day out. Three or four chains at £30 is not. A chain is a consumable; a cassette is a component. Spend on the first to protect the second.
One practical wrinkle: on a modern bike, a worn chain and a used cassette are a matched pair, whether you like it or not. If you've let it run past 0.75%, fit the new chain and cassette together. Trying to save £60 by keeping the old cassette usually ends with you buying both anyway, plus the labour twice.
The after-ride routine that makes it all work
None of this matters if the chain is grinding away between rides. Four steps, five minutes, done before the kettle boils:
- Rinse with low pressure. A watering can or a bucket is ideal. A jet wash drives water past the seals and into the bearings, and you'll pay for that in bottom brackets.
- Dry it. Rag, one pass down the length. A wet chain dilutes whatever lube you put on it.
- One drop per roller, on the inside run. Not a drizzle along the top. One drop, each link, then spin it through.
- Wipe the excess off. Lube on the outside of the plates does nothing except collect grit. The lube you want is inside the rollers.
Through winter, switch to a wet lube and accept that it's messier — it stays put when the lanes are running with water. Then check the chain with the gauge every couple of weeks, and always straight after a genuinely filthy ride. Two minutes, once a fortnight, from now until March.
Sounds fine, feels fine
A worn chain is usually quiet and smooth, because it's sitting loosely and running with less tension than it should. It is not going to warn you. That's exactly why the two-minute check exists — not to catch the dramatic failures, but to stop the boring, expensive, entirely preventable ones. Measure it this weekend. It's cheaper than the alternative, and it's a lot less annoying than a skipping chain on the climb out of Pembury in the sleet.